Imagine transforming a common pantry staple into a sumptuous, golden treat that can elevate your desserts to new heights. Learning how to make caramel with sweetened condensed milk is an adventure into the sweet arts, where patience and precision meet buttery, caramel bliss.
As you dive into the world of caramel condensed milk, you’ll unlock a versatile and delightful ingredient that can transform ordinary cakes, cookies, and snacks into extraordinary delicacies. This guide will walk you through the simple steps to create homemade caramel and inspire you with creative uses for this delectable concoction.
What is Sweetened Condensed Milk Caramel?
Understanding the Basics of Caramel Condensed Milk Caramel condensed milk is a rich, sweet syrup made by heating sweetened condensed milk until it thickens and turns a luscious golden brown. This process not only intensifies the milk’s natural sugars but also imparts a deep, buttery flavor that’s perfect for a variety of desserts.
Understanding how caramel forms involves recognizing the chemical reactions at play. As you apply heat, the sugars undergo caramelization, resulting in a transformation that’s as much about flavor as it is about texture. The result is a smooth, thick caramel that’s perfect for drizzling or spreading.
Why Use Sweetened Condensed Milk for Caramel?
Sweetened condensed milk is a convenient choice for making caramel due to its already rich and creamy composition. With a high sugar content and low water ratio, it simplifies the caramelizing process, reducing the risk of burning or crystalizing.
Additionally, using sweetened condensed milk allows you to enjoy a consistent and velvety caramel every time. Its reliable texture and flavor make it an ideal base for homemade caramel recipes, ensuring that even novice bakers can achieve professional results.
How to Make Caramel with Sweetened Condensed Milk
Step-by-Step Guide to Making Caramel with Condensed Milk Creating caramel with sweetened condensed milk is a straightforward process, but it requires attention and care. Begin by pouring a can of sweetened condensed milk into a heavy-bottomed saucepan, set over medium-low heat. As it heats, stir continuously to prevent scorching.
As the milk warms, you’ll notice it starts to thicken and change color. After about 10 to 15 minutes, it should reach a deep golden hue. At this point, you can test its consistency by drizzling a small amount onto a cold plate; it should hold its shape without spreading too quickly.
Tips for Perfecting Your Caramel Condensed Milk
Patience is key when making caramel. Keep the heat low and stir consistently to ensure even cooking and prevent burning. If you notice any lumps forming, whisk vigorously to smooth the mixture.
For added flavor, consider stirring in a pinch of salt or a splash of vanilla extract once the caramel has reached the desired color. This can enhance the depth of flavor and balance the sweetness beautifully.
Creative Uses for Caramel Condensed Milk
Delicious Dessert Ideas
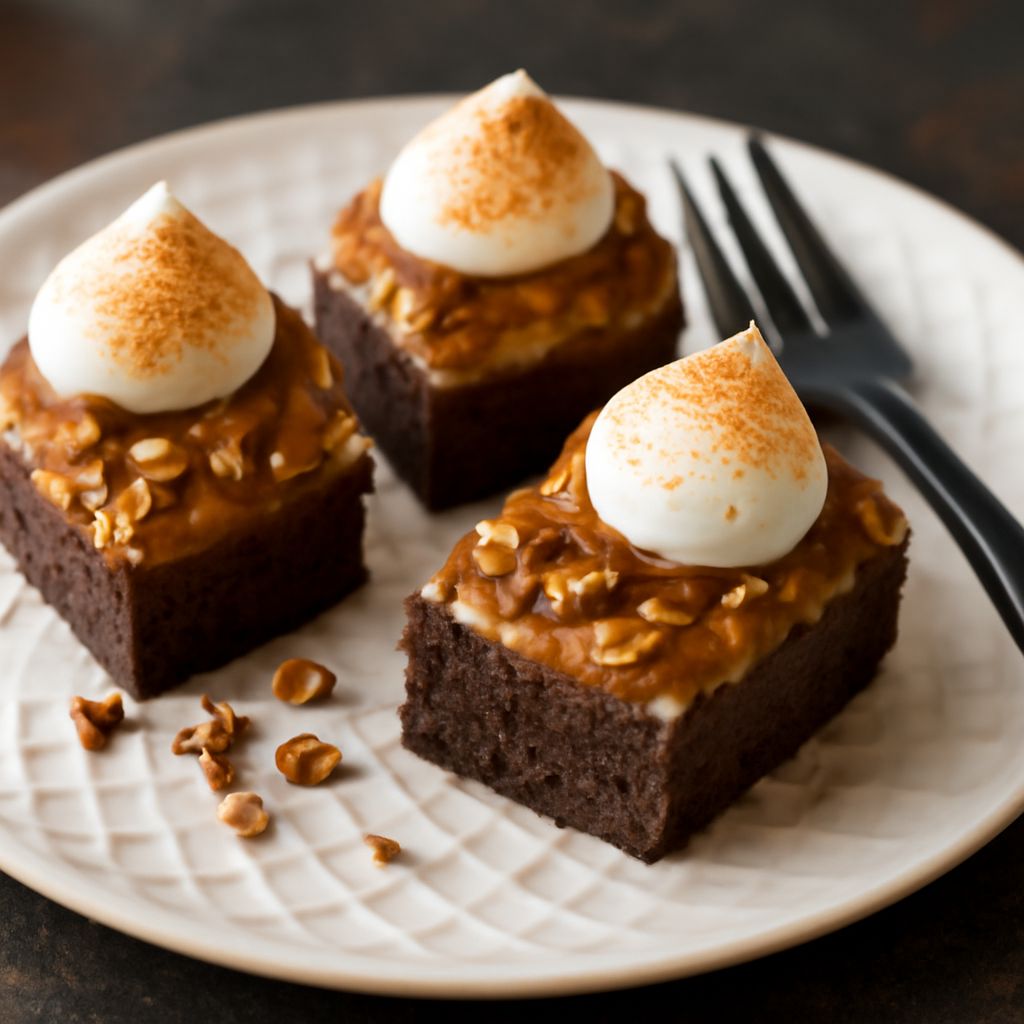
Once you’ve mastered how to make caramel with sweetened condensed milk, the possibilities are endless. Use it as a decadent topping for ice cream, pancakes, or waffles. Drizzle it over brownies or swirl it into cheesecake for an irresistible touch.
For a fun twist, incorporate caramel condensed milk into cookie dough or cake batters. The rich flavor complements chocolate, nuts, and fruits, adding a delightful caramel note that’s sure to impress.
Storage and Preservation Tips
To store your homemade caramel, pour it into a sterilized jar and allow it to cool completely before sealing. It can be kept in the refrigerator for up to two weeks, ready to transform any treat into a gourmet experience.
For longer storage, consider freezing the caramel in an airtight container. When needed, thaw it slowly in the refrigerator and give it a good stir to restore its creamy consistency.