Welcome to the world of Southern comfort food where the Black Eyed Peas Recipe takes center stage. This beloved dish combines rich flavors with nutritional benefits, offering a delectable experience for your taste buds. Whether you’re learning how to cook fresh black eyed peas or exploring the intricacies of cooking dry black eyed peas, this guide will help you create a perfect meal. Dive in and discover the secrets of making this Southern classic.
Learning a Black Eyed Peas Recipe Southern style not only enhances your culinary skills but also allows you to bring a piece of Southern tradition to your table. This guide will show you how long to cook fresh black eyed peas and dry variants, ensuring a delightful dining experience.
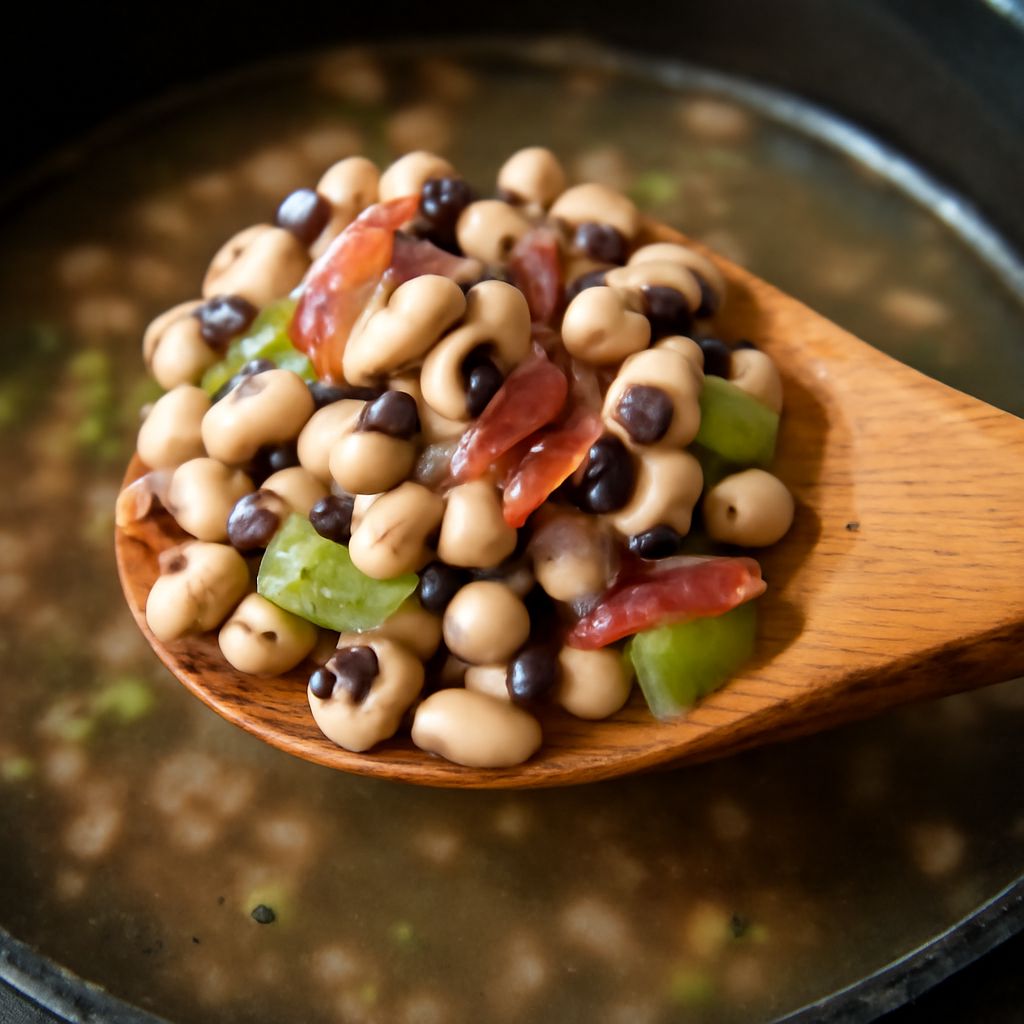
Introduction to Black Eyed Peas
What are Black Eyed Peas?
Black eyed peas, often mistaken for a type of bean, are actually legumes. They are small, oval-shaped, and have a distinctive black spot that resembles an eye. Originating from West Africa, they have become a staple in Southern American cuisine, celebrated for their unique flavor and versatility.
Nutritional Benefits of Black Eyed Peas
These legumes are packed with nutrients, making them a healthy addition to your diet. High in fiber and protein, they support digestion and muscle health. Additionally, black eyed peas are a great source of vitamins like folate and minerals such as iron and potassium, which contribute to overall well-being.
Traditional Southern Black Eyed Peas Recipe
Ingredients Needed
- 2 cups of dry black eyed peas
- 6 cups of water
- 1 smoked ham hock or 2 slices of bacon
- 1 onion, chopped
- 2 cloves garlic, minced
- Salt and pepper to taste
- Optional: hot sauce, for serving
Step-by-Step Cooking Instructions
- Rinse the dry black eyed peas thoroughly under cold water.
- In a large pot, combine the peas, water, and ham hock. Bring to a boil.
- Reduce the heat and simmer uncovered for about 1 hour, or how long to cook dry black eyed peas until tender.
- Add onions, garlic, salt, and pepper during the last 30 minutes of cooking.
- Remove the ham hock, shred the meat, and return it to the pot.
- Serve hot, optionally with a splash of hot sauce.
Tips for Perfect Southern Black Eyed Peas
For a flavorful dish, allow the peas to simmer slowly, absorbing the flavors of the ham hock. Consider adding other seasonings like bay leaves or thyme for additional depth. Ensure the peas remain covered in liquid throughout the cooking process to avoid dryness.
Cooking Dry Black Eyed Peas
Preparing Dry Black Eyed Peas
Start by sorting through the peas, removing any debris. Soak them in water for at least 4 hours or overnight, which reduces cooking time and enhances digestibility. Rinse before cooking.
How Long to Cook Dry Black Eyed Peas
Typically, dry black eyed peas take about 45 minutes to 1 hour to cook on a simmer. Check for tenderness at the 45-minute mark, ensuring they are soft but not mushy. Adjust the heat if they begin to boil too vigorously.
How to Cook Fresh Black Eyed Peas
Preparation Methods
Fresh black eyed peas require less preparation than their dry counterparts. Simply rinse them under cold water and remove any impurities. They are ready to cook immediately.
Optimal Cooking Times
Fresh black eyed peas cook faster, requiring around 20 to 30 minutes on a simmer. Check their texture midway through to prevent overcooking. Aim for a tender, slightly firm consistency.
Serving Suggestions and Pairings
Classic Southern Pairings
Black eyed peas make a perfect match with collard greens, cornbread, and rice. These pairings are traditional in Southern cuisine and enhance the flavor profile of your meal.
Creative Serving Ideas
For a modern twist, try incorporating black eyed peas into salads or stews. Their earthy flavor complements spicy sausages or roasted vegetables beautifully.
Now that you’ve mastered this Black Eyed Peas Recipe, it’s time to explore your creativity in the kitchen. Experiment with different seasonings or pairings to make this dish your own. Whether you’re cooking fresh or dry black eyed peas, following these guidelines will ensure a delicious outcome every time. Happy cooking!