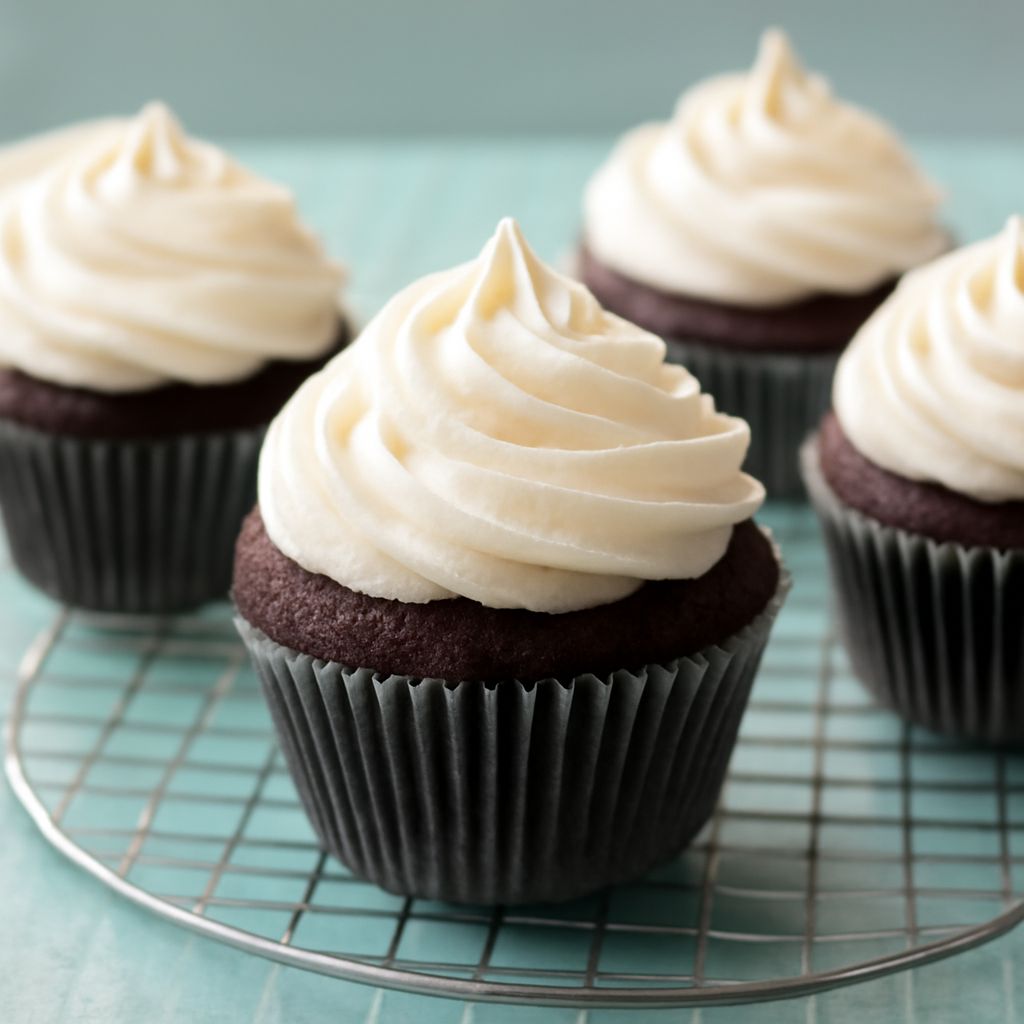
Your cake is cooling, the berries are ready, and you want a soft, cloudlike finish instead of a heavy layer of buttercream. A whipped cream icing gives you that lightness, with enough body for swirls and simple piping when you add a little stabilizer.
Plan on keeping the finished dessert cold until serving. This recipe uses dairy cream; if your guests eat vegan food, choose a plant-based alternative made specifically for whipping and follow its package directions.
Whip cream icing: a simple stabilized recipe
Here is how to make whip cream frosting with a smooth texture and a gentle vanilla flavor. The method follows King Arthur Baking’s stabilized cream technique, using instant modified cornstarch to help the foam hold its shape. It makes about 4 cups, enough for a generous layer on a 9-by-13-inch cake or simple swirls on approximately 24 cupcakes.
You will need:
- 2 cups cold heavy whipping cream
- ¼ cup powdered sugar
- 1 tablespoon Instant ClearJel, an instant modified cornstarch
- 1 teaspoon vanilla extract
Use Instant ClearJel, not regular cornstarch or cook-type ClearJel: the instant ingredient thickens without cooking. Check the label, because these products are not interchangeable. The cream should come straight from the refrigerator; keep a little extra cold cream on hand in case you need to correct the texture.
- Chill your equipment. Place a large bowl and the mixer beaters in the refrigerator until cool. A wide bowl gives the cream room to expand, and a hand mixer makes it easy to watch the changing texture.
- Mix the dry ingredients. Whisk the powdered sugar and Instant ClearJel together thoroughly. This helps distribute the stabilizer instead of leaving little clumps in the cream.
- Begin whipping. Pour the cold cream into the bowl and beat on medium speed until it thickens slightly and the beaters leave faint tracks. Add the vanilla.
- Add and finish. Sprinkle in the sugar mixture gradually while beating. Continue until the cream forms firm, smooth peaks. Stop the mixer and lift a beater: the peak should stand up with a tip that bends only slightly. Stop as soon as it holds its shape.
- Decorate. Spread or pipe onto a completely cool cake, then refrigerate. If it sits in the bowl briefly, cover and chill it rather than leaving it on the counter.
Read the peaks, not the clock
The time needed depends on the mixer, bowl, and temperature, so look at the cream as it changes. At first it is fluid and bubbly. Then it thickens enough to leave lines that briefly linger behind the beaters. A soft peak folds over when you lift the whisk; a firm peak stands taller and makes a more defined swirl.
Homemade whipped cream icing should look smooth and satiny at this stage. If you want a gently swooped finish, stop a little sooner. For a piping bag, whip cream icing to firm peaks, but keep watching: a few extra seconds can take the mixture from smooth to grainy. A rubber spatula is useful for scraping the bottom of the bowl and checking that there are no loose pockets underneath.
Choose the right finish for your cake
Whipping cream frosting tastes delicate and feels airy because whipped cream supplies its structure. It is excellent with berries, sponge cake, chocolate cake, or a simple sheet cake. Spread it in broad waves or pipe modest rosettes. For a tall, heavy tiered cake or an outdoor display, choose a sturdier finish and make a separate plan to keep the cake cool.
Buttercream relies mainly on butter or another fat, often beaten with powdered sugar. It is richer and generally better suited to detailed decorations. Cooked frostings are a broader family: some begin with a heated flour-and-milk base, while others use cooked sugar syrup and beaten egg whites. Their texture and storage needs depend on the particular recipe.
A whipped topping frosting made with a ready-made topping is another option. Read the ingredient list if you are serving vegans: some products contain milk ingredients even when described as non-dairy. A frosting made from whipped topping has its own flavor and texture, and its package directions are the best guide to thawing and storage. Do not substitute it cup for cup into the recipe above and expect the same result.
For a dairy-free celebration, a commercially prepared plant-based whipping cream can be convenient. Check that the label identifies it as suitable for whipping, follow its chilling and mixing directions, and confirm that every cake and decoration ingredient also fits your guests’ needs. Different products have different stabilizers, so try a small batch before relying on it for an important event.
Keep it cold until dessert
Store the finished frosting or decorated cake covered in the refrigerator at 40°F or below. For best texture, prepare and serve it within 24 hours. A covered cake carrier helps protect the swirls without pressing plastic wrap into them. If you are transporting the cake, use an insulated cooler with ice packs, keeping the cake level and separated from melting ice.
For a buffet, bring out small portions and replenish from the refrigerator. According to FoodSafety.gov, perishable food should not be left out longer than 2 hours, or 1 hour when the temperature is above 90°F. Count the time spent decorating and transporting as well as the time on the table.
If the cream turns grainy
The most likely mishap is overwhipping. If the mixture looks rough and begins to lose its glossy surface, stop immediately. Add a tablespoon of cold heavy cream and fold or whisk it in gently by hand; add a little more only if needed. If the mixture has separated into distinct butter grains and liquid, it will not return to a smooth finish: begin again with fresh cream, and stop the mixer a little earlier next time.


