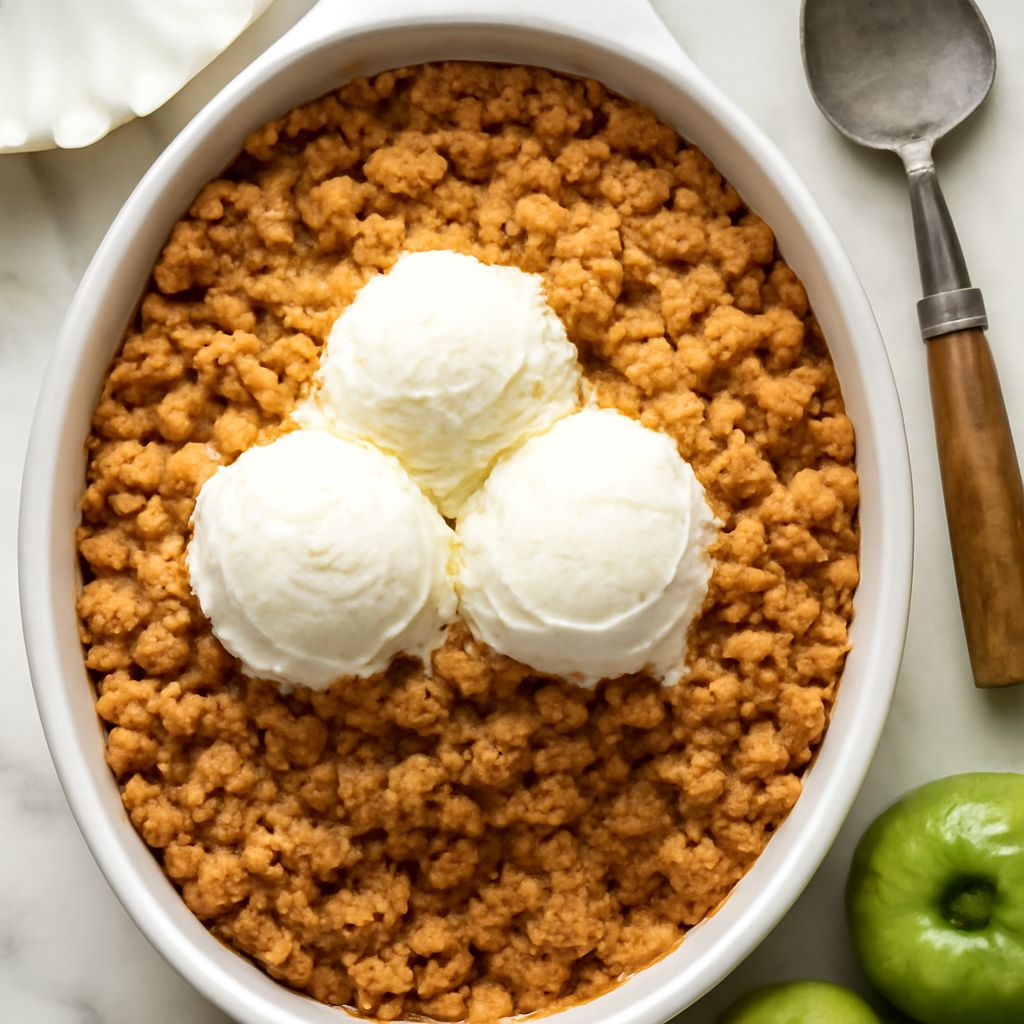
Guests are coming for dinner, the oven is free, and you need a dessert that can be assembled before anyone arrives. This simple apple crisp gives you tender fruit under a golden, nubbly topping, with no pastry to roll or pie crust to fit.
The recipe for this crisp makes one generous dish to bring straight to the table. Give it a little time to cool after baking, then serve warm spoonfuls with vanilla ice cream or a dairy-free alternative.
Crisp Recipe: Ingredients and Equipment
This easy apple crisp makes about eight servings in a 9-inch square baking dish. Allow about 20 minutes to prepare it and 55 to 65 minutes to bake, plus at least 20 minutes of cooling. Put the dish on a rimmed baking sheet to catch any bubbling juices.
For the apple filling:
- 3 pounds apples, about 8 to 9 cups after peeling, coring, and slicing
- 2 tablespoons lemon juice
- 1/3 cup packed brown sugar
- 3 tablespoons all-purpose flour
- 1 teaspoon ground cinnamon
- 1/4 teaspoon table salt
For the topping:
- 3/4 cup all-purpose flour
- 1/2 cup quick-cooking oats
- 2/3 cup packed brown sugar
- 1 teaspoon ground cinnamon
- 1/4 teaspoon table salt
- 8 tablespoons cold unsalted butter, cut into small pieces
- 1/2 cup chopped pecans or walnuts, optional
You’ll also need a large bowl, a smaller bowl, a knife, and a spoon. This crisp recipe and its baking method are adapted from King Arthur Baking’s classic version. For a plant-based dessert, use a firm vegan baking stick in place of the butter and choose a dairy-free topping for serving.
Choose and Prepare the Apples
Firm apples such as Granny Smith or Honeycrisp hold their shape nicely. Combine tart and sweet varieties if you like a filling with a little more character. If your apples are very sweet, you can reduce the filling sugar by a tablespoon or two; the topping will still add sweetness.
Peel and core the fruit, then cut it into slices about 1/4 inch thick. Similar-sized slices soften at roughly the same pace, so you won’t have a mixture of mush and hard chunks. Measure the prepared fruit loosely in a cup; there is no need to press it down.
Recipes for apple crisp often leave room for different apple varieties. What matters here is the amount of sliced fruit: enough to fill the dish generously, while leaving room for the topping and bubbling juices. The lemon adds brightness, and the flour helps thicken those juices as they cook.
Mix, Assemble, and Bake
- Heat the oven. Set it to 350°F and lightly grease the baking dish. Place a rack in the middle of the oven.
- Make the filling. Toss the sliced apples with the lemon juice. Add the brown sugar, flour, cinnamon, and salt; turn everything together until the slices are evenly coated. Spread the fruit in the dish.
- Make the topping. In the smaller bowl, stir together the flour, oats, brown sugar, cinnamon, and salt. Rub the cold butter into the dry ingredients with your fingertips until you have uneven crumbs, some small and some pea-sized. Stir in the nuts, if using.
- Cover the fruit. Scatter the crumbs across the apples without pressing them into a solid layer. A few gaps let you see the filling bubbling underneath.
- Bake. Set the dish on the lined baking sheet and bake for 55 to 65 minutes. The top should be golden, and the juices should bubble in the center as well as at the edges. Test an apple slice with a small knife; it should yield easily.
- Rest. Let the dish stand at least 20 minutes before serving. The filling thickens as it cools, and your guests won’t meet a spoonful of scalding fruit.
A quick apple crisp is quick to put together, but the oven still needs time to soften the fruit. If the topping browns before the center bubbles, lay a piece of foil loosely over the dish and continue baking. Check again after five to ten minutes.
Make It Fit the Occasion
The separate fruit and crumb layers make apple crisp easy to prepare while you’re arranging the rest of dinner. Measure the dry topping ingredients earlier in the day and keep the cold butter refrigerated until you mix it in. Assemble and bake when you can give the dessert the full oven time.
Bring the baked apple crisp to the table in its baking dish, set on a trivet, and offer a large spoon for serving. Add a scoop of vanilla ice cream to each bowl, or pass a pitcher of cold cream. For a vegan celebration, choose a dairy-free vanilla ice cream and check the ingredients on the baking stick.
For a smaller gathering, serve this simple apple dessert warm in bowls with a few toasted nuts on top. Let guests add their own ice cream so the crisp topping keeps its texture until the last moment. An apple crisp dessert is also lovely at room temperature, when the filling has had more time to set.
If you have leftovers, cover and refrigerate them once cool. To reheat a portion, use a microwave for convenience or a moderate oven until warmed through; the oven will do a better job of reviving the topping. Serve apple crip in a shallow bowl so everyone gets fruit and crumbs in each spoonful.
If the Filling Looks Runny
The most likely disappointment is a pool of thin juice when you first spoon into the dish. Look for bubbling in the center before taking it out: if the center is quiet and the apples still feel firm, return it to the oven, covering the top loosely with foil if it is already brown. Once the fruit is tender and bubbling, let it rest for at least 20 minutes. If it still looks loose, give it more cooling time; spoon any remaining juices over the servings.