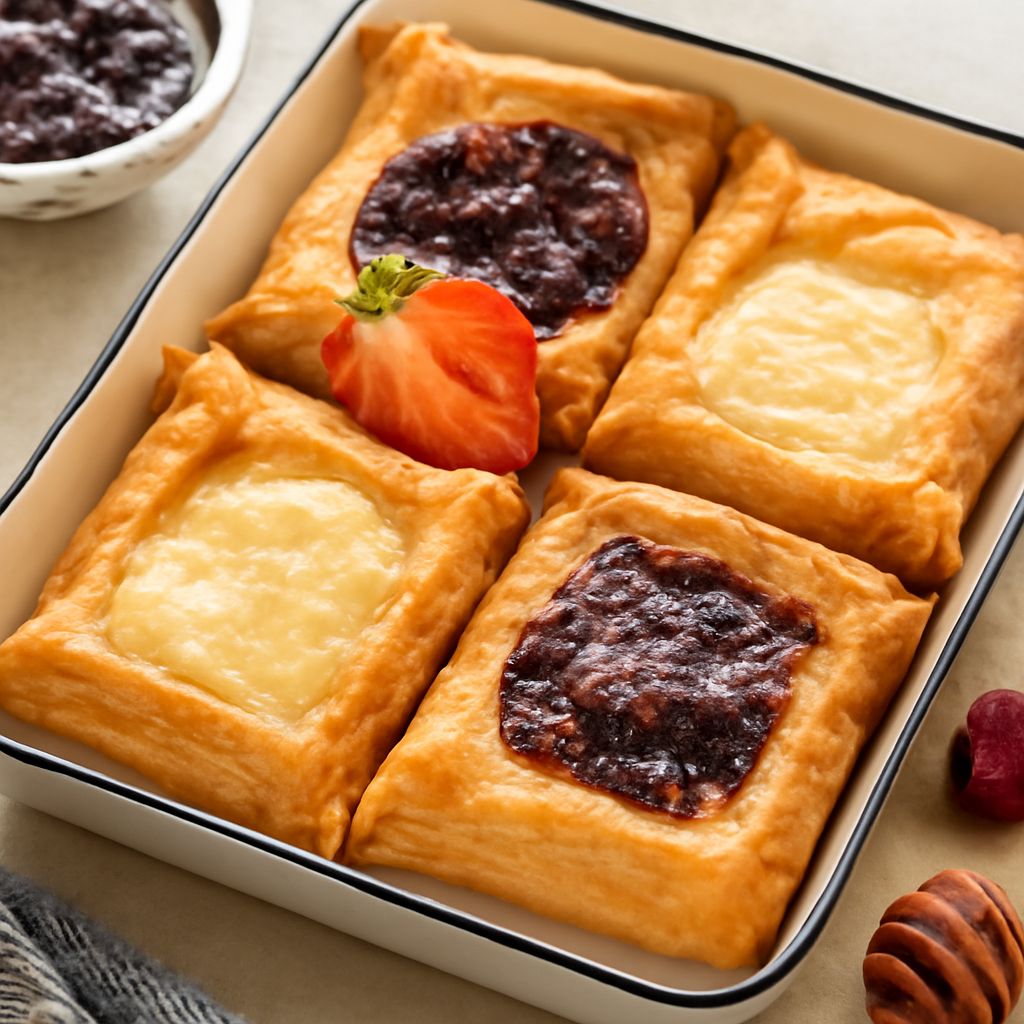
When friends are coming for brunch, a homemade Danish with cheese makes a lovely centerpiece: golden layers around a creamy middle, ready to accompany a pot of coffee. Start the dough the day before and the morning’s work becomes much more manageable.
Each cream cheese Danish begins with a yeasted dough folded around butter. It takes some waiting and rolling, but you can do it in stages. This version makes about 36 small pastries, so there is plenty to share.
What you will need
This cheese danish recipe from scratch follows the proportions and technique in King Arthur Baking’s Danish pastry recipe. Plan on at least two hours of chilling after folding, or refrigerate the dough overnight. The recipe below uses dairy and eggs; see the plant-based note before preparing it for vegan guests.
For the dough:
- 1 pound (454 g) unsalted butter, cool but pliable, divided
- 5 1/2 cups (660 g) all-purpose flour, plus more for rolling
- 1/3 cup (67 g) granulated sugar
- 4 teaspoons instant yeast
- 2 1/2 teaspoons (15 g) table salt
- 1/2 to 1 teaspoon ground cardamom, optional
- 1 teaspoon vanilla extract
- 1 cup cold milk
- 1/3 to 1/2 cup lukewarm water
- 2 large eggs
For the filling and finish:
- 4 ounces (113 g) cream cheese, softened
- 1/2 cup (113 g) ricotta or cottage cheese
- 3 tablespoons (35 g) granulated sugar
- 1 large egg, plus 1 egg white for brushing
- 1/4 teaspoon table salt
- 1 tablespoon cold water for brushing
Use the smaller amount of water in humid weather and the larger amount in a dry kitchen. The dough should be cohesive and quite sticky. Weighing the flour helps you avoid packing too much into the mixture. Have parchment, a rolling pin, and three baking sheets ready; bake in batches if necessary.
Make the dough and fold in the butter
- Mix the dough. Keep roughly 2 tablespoons of the butter for the dough and set the rest aside. Combine the dry ingredients, work in that small portion of butter, then add the milk, water, vanilla, and two eggs. Knead until the mixture holds together; expect it to be sticky. Cover and let it rest for 10 minutes.
- Make the butter layers. Split the remaining butter in half. Press each half between lightly floured sheets of parchment into a flexible 6-by-9-inch slab. It should be cool enough to hold its shape without cracking.
- Enclose the butter. Roll the dough to approximately 12 by 24 inches. Place one slab in the middle, fold a third of the dough over it, add the second slab, and bring the remaining dough over the top. Seal the edges.
- Fold and chill. Turn the packet a quarter turn, roll it to approximately 10 by 24 inches, and bring the two short ends to the middle. Fold the resulting packet in half like a book. Chill for 20 minutes, then repeat that roll-and-book-fold twice more. Wrap and refrigerate for 2 to 16 hours before shaping.
These folds create the layers that puff in the oven. If butter starts to feel greasy or the dough resists rolling, return the wrapped packet to the refrigerator until firm enough to handle. A little patience here makes shaping much easier.
Danish cream cheese filling and shaping
For the Danish, cream cheese and ricotta make a soft, gently tangy filling. Stir them with the sugar, whole egg, and salt until smooth; a food processor will give a finer texture. For Danish with cream cheese, keep the mixture refrigerated while you work with the dough.
If you are wondering how to make a cheese danish with a neat center, make a shallow well rather than piling filling onto a flat piece. Cut off one-third of the chilled dough and return the rest to the refrigerator. Divide that portion into 12 equal pieces. Roll each into a ball, then flatten into a 3- to 3 1/2-inch round, leaving a slightly thicker rim. Arrange on a parchment-lined sheet and repeat with the remaining dough.
Cover loosely and let the rounds rise for about an hour, until slightly puffy. Near the end, heat the oven to 400°F. Press the centers flat again, leaving the rims raised, and spoon a slightly heaping measuring teaspoon of filling into each well. Beat the egg white with the water and brush the exposed edges.
Bake and serve
Bake for 15 to 18 minutes, until golden brown, then transfer the pastries to a rack. Let them cool before arranging them on a platter. A homemade cheese danish is delicious plain; a little fruit alongside adds color without making the crust soggy.
For an easy cheese danish presentation, offer berries and coffee separately so guests can choose their own accompaniments. This simple, home-baked cheese pastry also travels well to a nearby brunch if kept chilled in a covered container.
The method for making a cheese-filled Danish relies on butter, eggs, and dairy cheese. Plant-based butter and cream cheese vary in moisture and fat, and egg replacements behave differently, so use a tested vegan pastry recipe for guests who avoid animal ingredients. Do not assume a direct swap will preserve these layers or set the filling in the same way.
Keep the filling safe
Refrigerate the pastries at 40°F or below within two hours after baking, or within one hour if exposed to temperatures above 90°F. Serving does not restart that clock. CDC food-safety guidance explains the time and temperature limits; FoodSafety.gov recommends using refrigerated leftovers within three to four days. Store covered. At a gathering, put out a small platter and replenish it from the refrigerator.
The clearest sign of doneness is a golden-brown pastry. Cool on a rack before covering and chilling; air circulating underneath helps keep the bottoms from becoming damp.