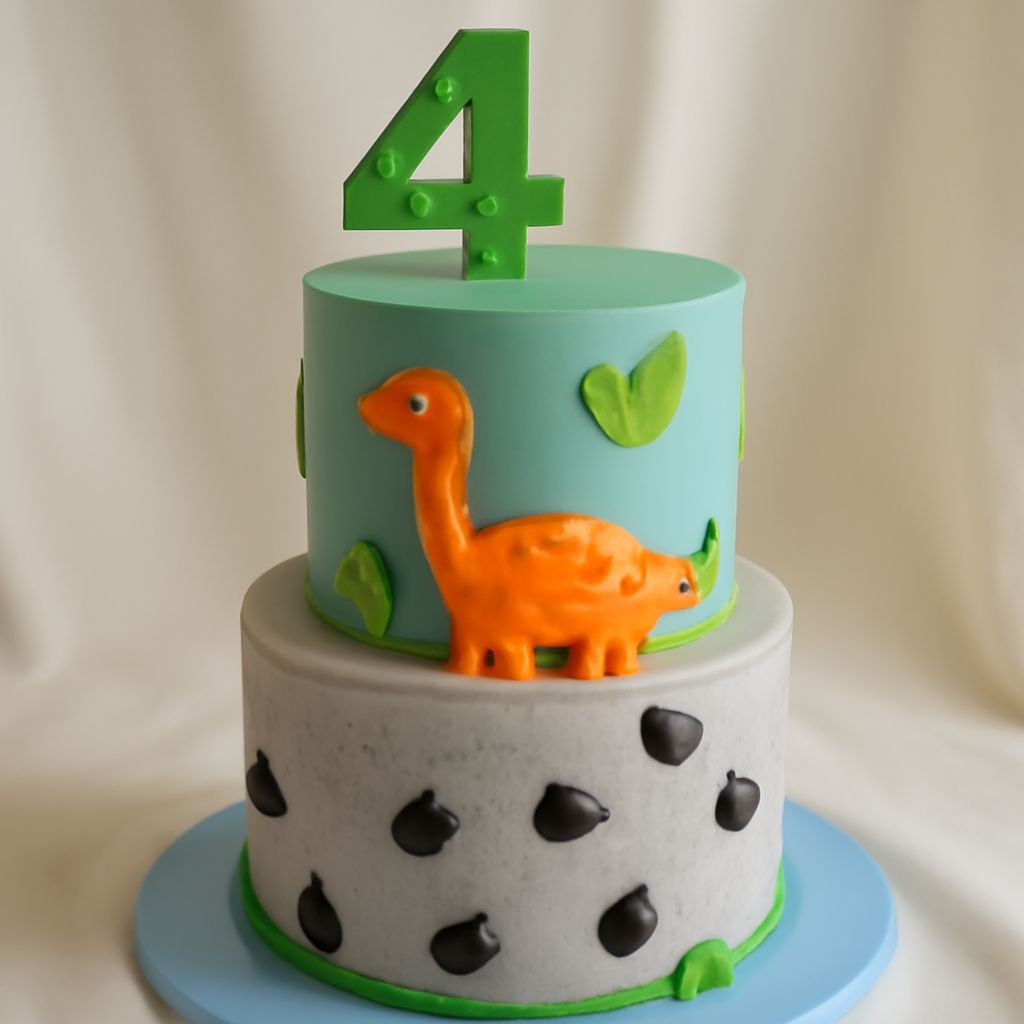
The birthday party is tomorrow, the cake is baked, and you’d like it to look wonderfully prehistoric without spending all night decorating. A frosted sheet cake, a trail of little footprints, and a cheerful dinosaur on top can make a whole scene in less time than it takes to carve a creature from cake.
Start with a dinosaur-themed birthday cake that suits your pan, your decorating confidence, and the number of guests. Then choose one or two details that make the design clear from across the table: a silhouette, a trail of tracks, or a landscape in green and chocolate.
Dino Cake Shapes to Consider
These dinosaur cake ideas range from a flat picture to a sculpted centerpiece. Start with a firm, fully cooled homemade or bakery cake.
- Sheet cake with a scene: Frost a rectangular cake and add a dinosaur, tracks, and foliage on top. It gives you a generous decorating surface and is easy to cut into portions.
- Round cake with a silhouette: Cover a round cake in one color and pipe a simple dinosaur outline on top. This takes less space on the table and suits a smaller gathering.
- Cut-out creature: Use a paper template to cut a dinosaur shape from a chilled sheet cake, then frost the pieces. This offers a dramatic shape but requires more time to handle crumbs and fit the pieces together.
- Dinosaur-shaped pan: A shaped pan supplies the outline for you. Fill its features with colored frosting, allowing time for piping and for the cake to cool completely before decorating.
For a first attempt, an easy dinosaur cake is the sheet-cake scene. You can make the frosting look like grass with the back of a spoon, so a perfectly smooth finish is unnecessary. For a larger party, two sheet cakes are easy to transport and serve.
Make a Simple Prehistoric Scene
Set aside about 30 to 45 minutes for decorating a cooled 9-by-13-inch cake. This estimate excludes baking, cooling, and making frosting. Have these ready:
- One fully cooled sheet cake on a sturdy food-safe board or serving platter
- About 3 cups prepared frosting, plus a little extra if you want a border
- Green food coloring labeled for food use
- A handful of finely crushed sandwich cookies for a path
- A small piping bag or food-safe zip-top bag and a spoon or offset spatula
- A clean, food-safe dinosaur cake topper designed for cake use, or an edible dinosaur decoration
- Optional edible candy leaves or a few piped frosting leaves
For a vegan party, use a vegan cake and frosting, then read the cookie, candy, and food-coloring labels. Keep any ingredients guests need to avoid on a clearly labeled card. The decorating method works just as well with a plant-based cake and frosting that hold their shape.
Decorate Step by Step
- Set up the base. Place the cooled cake on its board. If the top is very domed, trim it level with a serrated knife. Brush away loose crumbs before frosting.
- Color the frosting. Reserve about 1/2 cup for details. Tint the rest pale green, adding coloring a little at a time and mixing until the shade looks right. Keep some white frosting if you want contrast for writing.
- Cover the cake. Spread a thin coat over the top and sides to catch crumbs. Chill briefly until that coat feels firm, then add the remaining green frosting. Make little swirls with the back of a spoon for a grassy surface.
- Make a path. Sprinkle a curved trail of crushed cookies across one side, leaving room for a message. Press the crumbs gently so they stay in place.
- Add tracks and plants. Spoon reserved frosting into a bag, snip a small corner, and pipe three short strokes for each footprint. Pipe simple leaves, or add edible candy leaves along the edge of the path.
- Place the dinosaur. Set an edible figure on top, or add the food-safe topper according to its instructions. Leave a clear spot for candles and a name. Add any non-edible topper close to serving time.
For this DIY dinosaur cake, decide where the message goes before you pipe tracks. If writing feels tricky, pipe the name on a separate piece of parchment first; then use a few large letters rather than squeezing a long sentence into a small space.
Keep Decorations Safe and Easy to Remove
Use decorations intended for contact with food, and follow their packaging. Keep small loose pieces away from young children. Mark the position of any non-edible figure, pick, support, or candle so you can account for every piece before slicing. Remove all of them before serving; the FDA advises removing non-edible decorations before food is eaten.
Use only glitter or dust labeled edible directly on the cake. “Non-toxic” or “for decoration” alone does not mean a product is edible. If you want sparkle without a dust, colored sugar made for food is a simple alternative.
Serve and Choose Your Design
Carry the cake on its board with both hands, keeping the surface level and cool. Bring a knife, a cake server, and a small plate for removed decorations to the table. After candles are out and all non-edible pieces are removed, cut the sheet cake into a grid; adjust the size of the pieces for your guests and other desserts.
A dino cake with a frosted landscape is forgiving if you’re new to decorating: the spoon-made grass hides little bumps, and the topper does the storytelling. If you have an extra hour and enjoy piping, choose a round silhouette or shaped pan. Save carved dinosaur cake designs for a day when you have time to chill, cut, and frost the pieces carefully.
For a quick homemade dinosaur birthday cake, use the sheet scene and a ready-made topper. If you want an entirely edible dinosaur decoration, pipe a simple outline or use a labeled edible figure. Either choice gives you a lively centerpiece with a clear plan for the time you have.