You’ve seen a gleaming chocolate dessert at a bakery and would love to bring something similar to a birthday dinner. Before you reach for a mixing bowl, it helps to understand what an entremet is: a carefully assembled dessert in which several prepared layers are held together, often inside a light mousse.
Make this layered dessert over several days. Freeze it to set the layers and unmold cleanly, then thaw in the refrigerator. Let’s follow one chocolate-and-caramel example from beginning to end.
What Is an Entremet in a Modern Pastry Kitchen?
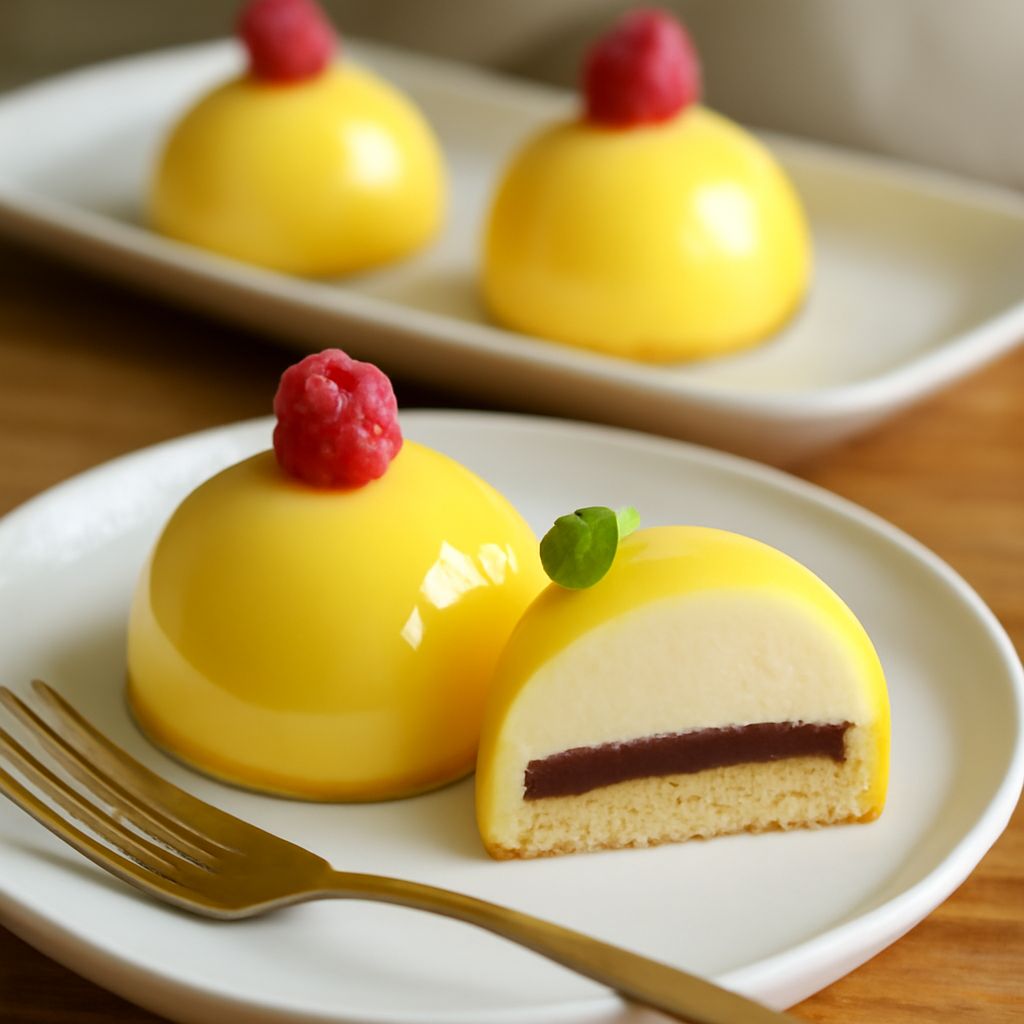
What is an entremet today? It is a composed dessert built from contrasting elements, often a sponge or biscuit, a creamy or fruity insert, mousse, and a finish such as glaze. When you cut it, each portion shows those layers and gives you several textures in one bite. Shapes include individual domes and rectangular cakes.
Entremet cakes can be elaborate, but the parts have clear jobs. The sponge provides a tender foundation; a crisp layer adds a little snap; an insert contributes a distinct flavor; and the mousse surrounds the center and gives the dessert its shape. The glaze is a thin finishing coat, not the structure that holds everything up.
For a reliable full formula, use pastry chef Kirsten Tibballs’s full professional recipe. The source gives ingredient weights, detailed methods, and equipment for three rectangular desserts. Read the whole recipe first: it is an advanced preparation with several components, and a scale and thermometer are important. The guide below explains the sequence rather than changing its ratios.
The Layers in This Chocolate Version
This chocolate entremet pairs a lemon sponge with almond-praline crunch, caramel, chocolate mousse, and a glossy chocolate coating. Lemon lifts the richer flavors, the thin crunch creates contrast, and the caramel adds a soft center. The mousse fills the space around the insert so the finished dessert has a smooth outer shape.
The source also offers white chocolate cream and decorative pieces, which you can omit. Keep the core sponge, crunch, caramel, mousse, and glaze quantities together as written; each was designed for the stated molds.
Before shopping for an entremet cake recipe, check that you have enough freezer space for a level tray and three rectangular frames. The source frames are approximately 9 by 3 1/2 inches and a little over 1 inch high. You’ll also need acetate strips to line them, a mixer, piping bags, a saucepan, and a stick blender for the glaze. Measure the actual frame dimensions rather than filling a smaller mold to the brim.
Prepare the Insert
The insert is the set of layers placed inside the mousse. Begin with the lemon sponge: whip the yolks and sugar, prepare the meringue separately, then fold the mixtures together with the chocolate, lemon, almond, and starch as the recipe directs. Bake, cool completely, cut three smaller rectangles, and freeze them. They must fit inside the frames with space for mousse around the sides.
Next, mix the roasted buckwheat and orange into the chocolate-praline mixture and spread it over the sponge pieces. This layer brings crunch, so keep it thin and even. Freeze the pieces again. Prepare the caramel carefully, adding hot cream to the caramelized sugar as directed, then let it cool until pipeable. Pipe it over the frozen crunch and return the inserts to the freezer.
This is the most helpful way to think about what makes an entremet: each component is prepared to a particular texture before it joins the others. A firm insert is easier to center, and its layers stay distinct when the finished dessert is cut.
Make the Mousse and Assemble
Line the frames with acetate and place them on a flat lined tray. For the mousse, soften the gelatin, make the egg-yolk custard, and stir in the gelatin before pouring it over the chocolates. Use the recipe’s temperatures: cook the custard to 176°F, then cool the chocolate mixture to about 93°F before folding in the softly whipped cream. Use a thermometer to check both stages.
Place a frozen insert in each frame. Pipe mousse around it and over the top, filling the gaps, then level the surface with a palette knife. Freeze the assembled desserts completely for at least six hours, as the source specifies. An overnight freeze gives you a comfortable margin before finishing.
This layered entremet dessert depends on those cold stages for a clean release. If you try to remove the frame while the mousse is soft, the sides can lose their shape. Once frozen, the source says the assembled desserts can be wrapped airtight and kept in the freezer for up to three months.
Glaze, Thaw, and Serve
Prepare the glaze according to the linked formula, then cool it to about 82°F for pouring. Remove the frozen desserts from their frames, peel off the acetate, and set each on a small support over a tray to catch drips. Pour the glaze over the surface, let the excess run off, and transfer to a serving plate. The source gives instructions for reheating and re-emulsifying glaze made ahead.
Move the finished dessert to the refrigerator to thaw before serving; allow several hours or overnight and check that a thin knife passes easily through the center. Keep it refrigerated until needed. Slice with a warm, dry knife, wiping the blade between portions to show the layers. The source uses dairy, eggs, nuts, and gelatin, so tell guests what is in it; for a vegan celebration, choose a complete recipe developed with plant-based setting agents and dairy-free components.
Understanding how an entremet is constructed makes the schedule manageable. For a Saturday dinner, prepare and freeze the inserts Thursday, assemble and freeze the mousse Friday, then glaze Saturday morning and thaw in the refrigerator until serving.
Assembly Reminder
- Bake and cool the sponge; add the crunch and caramel, freezing between stages.
- Prepare the mousse, center the frozen inserts, and fill the frames.
- Freeze at least six hours, then unmold and glaze while frozen.
- Refrigerate until thawed, slice with a clean warm knife, and serve chilled.