You have a favorite wedding photo and a frame that looked just right in the store. At home, the print slips behind the opening, or the frame turns out to be wider than the shelf. Knowing common picture frame dimensions can save you a second trip with a ruler and a slightly less cheerful expression.
Start with the actual print, then decide whether you want a mat around it. The right size for a photo frame depends on both choices, as well as the space where the finished piece will sit or hang.
Photo Frame Sizes You Will Often See
In the United States, standard picture frame sizes are generally listed in inches. The number on the package usually describes the size of the picture or mat that fits inside, not the measurement around the outside of the frame.
| Print or frame size | A common use |
|---|---|
| 4 × 6 inches | A small snapshot on a desk or shelf |
| 5 × 7 inches | A portrait with a little more presence |
| 8 × 10 inches | A medium photo for a wall or tabletop |
| 11 × 14 inches | A larger portrait or a matted smaller print |
| 16 × 20 inches | A statement photo for a wall |
These photo frame sizes are starting points, not the only shapes available. Square and panoramic prints need their own matching dimensions, and stock varies by seller. A 4 × 6 frame can hold a 4 × 6 print in either portrait or landscape orientation if the frame and its hanging hardware allow it.
What is a standard picture size? For a familiar small print, 4 × 6 inches is a common choice; 5 × 7 and 8 × 10 are also widely available. The normal picture frame sizes you encounter will often match those prints, but measure yours instead of judging it by the pile of photographs beside it.
Four Measurements That Matter
The size of picture frames can mean several different things. Before you shop, distinguish these measurements:
- Print size: the full width and height of the paper, including any white border printed on it.
- Visible image: the part you can see once the frame lip or mat overlaps the edges.
- Inside size: the space behind the frame where the print, backing, and any mat fit. This is normally the labeled size.
- Outside size: the full width and height from the outer edges of the frame. Its molding adds to the inside dimensions.
For example, an 8 × 10 frame may have an inside space for an 8 × 10 print, while the outer dimensions might be 10 × 12 inches with a one-inch-wide molding on each side. That’s an illustration: profiles vary, and the frame lip overlaps the print. Check the product’s actual outside measurement when a shelf, wall gap, or gallery arrangement has a fixed limit.
Measure Your Print and Wall Space
Lay the print flat on a clean surface. Measure its full width and height to the nearest small division on your ruler, including any white border you intend to keep. Record both numbers in inches. If the image itself has a border, measure that image separately so you know what will appear through a mat opening.
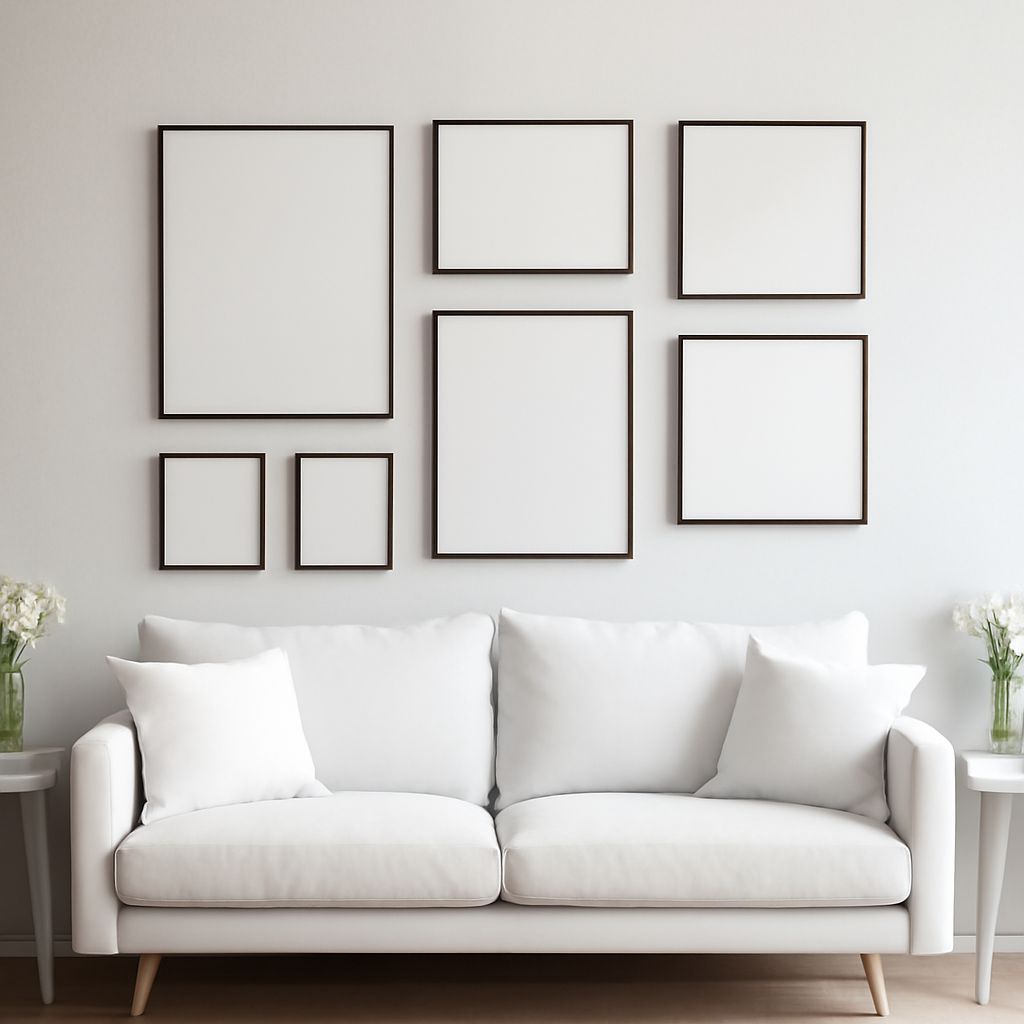
Next, measure the available wall or shelf area. For a group of frames, include the gaps you want between them and the width of each frame’s molding.
If the print falls between common sizes for picture frames, you can use a larger frame with a suitable mat or have a frame made to fit. Avoid trimming an original or an important photograph until you know exactly what would be lost.
Choose a Frame Without a Mat
For an unmatted 4 × 6 print, start with a frame labeled 4 × 6. The print fits into the back, and the narrow lip at the front holds it in place. That lip covers a little of the paper at each edge, so a signature, face, or other detail very close to the border may disappear beneath it.
Check the depth of the frame if your print is mounted on a thick board. A frame designed for a thin photograph may not close around the extra thickness. The listed size tells you about width and height; the usable depth is a separate measurement.
Add a Mat for Breathing Room
A mat is a border board with an opening that sits over the print. It creates space around the image and can keep it from resting directly against the glazing. For a 5 × 7 print, one option is an 8 × 10 frame with an 8 × 10 mat cut for that print. The mat’s outside fits the frame, while its opening is slightly smaller than 5 × 7 so it overlaps and holds the edges.
The visible opening might be about 4¾ × 6¾ inches, but cuts vary. Check the stated opening rather than assuming every mat labeled for a 5 × 7 photo reveals exactly the same area. With a centered opening of that size, the border is about 1⅝ inches wide on the short sides and 1⅝ inches on the long sides.
For another combination, an 8 × 10 print can sit behind a mat in an 11 × 14 frame. Make sure the opening leaves any important writing or faces visible. If you want to display the entire paper edge, ask a framer about a mount designed to show it rather than covering it with a conventional mat.
Consider Cropping Before You Print
A digital image and a chosen print may have different proportions. A 4 × 6 image has a 2:3 ratio, while an 8 × 10 print has a 4:5 ratio. Filling the latter with the former requires cropping part of the longer dimension; adding borders is another option. Use the printer’s preview to place the crop where you want it, especially around faces and hands.
Before buying, note the print’s full dimensions, the area you want visible, the mat’s outside and opening measurements if using one, and the frame’s inside and outside dimensions. Compare those numbers with your available space and frame depth, and you’ll know which standard frame size fits your picture before the receipt goes missing.